Singer Stylist 7258: A Comprehensive Guide
This guide‚ dated April 28‚ 2026‚ offers detailed instructions for the Singer Stylist 7258 sewing machine‚ ensuring a smooth and productive crafting experience.
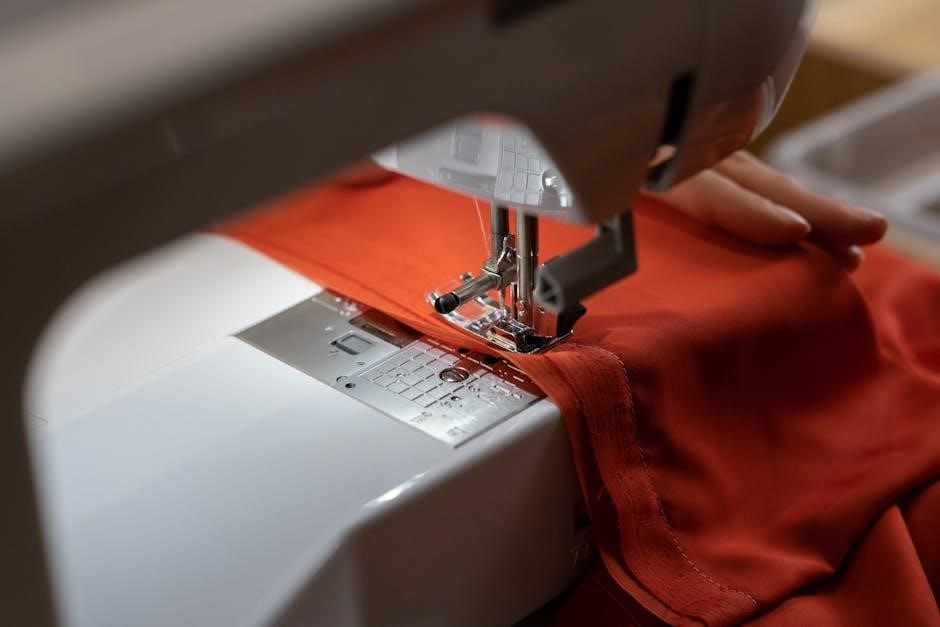
The Singer Stylist 7258 is a popular‚ computerised sewing machine designed for both beginners and experienced sewists. As of today‚ April 28‚ 2026‚ it remains a reliable choice for a wide range of projects‚ from simple alterations to complex garment construction. This machine boasts a user-friendly interface and a robust set of features‚ making it a versatile addition to any sewing room.
This comprehensive guide aims to provide you with everything you need to know to operate your Singer Stylist 7258 effectively and safely. We will cover everything from initial setup and threading to advanced stitching techniques and troubleshooting common issues. Understanding this manual will unlock the full potential of your machine‚ allowing you to create beautiful and lasting projects.

Key Features and Specifications
The Singer Stylist 7258‚ as of April 28‚ 2026‚ offers 80 built-in stitches‚ including decorative‚ stretch‚ and buttonhole options. It features an automatic needle threader‚ adjustable stitch length and width‚ and six different presser feet for varied applications. The machine boasts a top-drop bobbin system for easy threading and a free arm for sewing cuffs and sleeves.

Its specifications include a maximum sewing speed of 750 stitches per minute and an adjustable presser foot pressure. The machine is designed to handle a variety of fabrics‚ from lightweight silks to heavier denims. A clear LCD screen displays stitch selection and settings‚ enhancing user convenience and control.
Unboxing and Initial Setup
Upon receiving your Singer Stylist 7258 (as of April 28‚ 2026)‚ carefully inspect the box for any damage. Open it and verify all included components against the parts list in the manual. Remove the machine and accessories‚ retaining the packaging for potential returns.
Initial setup involves attaching the power cord and foot pedal. Ensure the power switch is off before connecting. Next‚ install the bobbin case and thread it according to the illustrated guide. Finally‚ attach the standard presser foot. A test stitch on scrap fabric confirms proper threading and functionality before beginning your project.
Parts Identification
The Singer Stylist 7258‚ as of April 28‚ 2026‚ comprises several key components. These include the main sewing machine body‚ power cord‚ and foot pedal for operation. Essential parts are the needle clamp‚ presser foot‚ and presser foot shank‚ facilitating fabric manipulation.
The bobbin winder and bobbin case are crucial for lower threading. Locate the handwheel‚ tension discs‚ and thread guides for proper thread path. Familiarize yourself with the stitch selector dial and reverse lever. Understanding each part’s function is vital for efficient machine use and maintenance‚ as detailed in the manual.
Needle and Presser Foot Assembly
As of April 28‚ 2026‚ the Singer Stylist 7258’s needle assembly requires a specific insertion process. Ensure the machine is off before changing the needle. Loosen the needle clamp screw and insert a compatible needle with the flat side facing the back. Tighten the screw securely.
The presser foot attaches via a snap-on mechanism. Lift the presser foot lever to remove or install different feet. Proper alignment is crucial for optimal stitch formation. Regularly check the needle and presser foot for wear‚ replacing them as needed to maintain sewing quality.
Bobbin Winding and Insertion
According to the manual‚ updated April 28‚ 2026‚ winding the bobbin on your Singer Stylist 7258 involves placing the thread spool on the spool pin and guiding the thread through the tension disc. Engage the bobbin winding shaft and follow the designated path.
Once wound‚ insert the bobbin into the bobbin case‚ ensuring it rotates freely. The bobbin case then slides into the machine. Proper bobbin insertion is vital for balanced stitches. Incorrect placement can lead to tension issues and poor stitch quality‚ so double-check alignment.
Power Cord and Foot Pedal Connection

The Singer Stylist 7258‚ as of the manual’s latest update on April 28‚ 2026‚ requires a secure power connection for operation. First‚ locate the power jack on the machine’s rear panel. Insert the power cord firmly into this jack‚ ensuring a snug fit.
Next‚ connect the foot pedal to the designated port. The foot pedal controls sewing speed‚ so a proper connection is crucial. Verify both connections are stable before powering on the machine. Always use the provided power cord to avoid damage and ensure safe operation.
Basic Operation: Threading the Machine
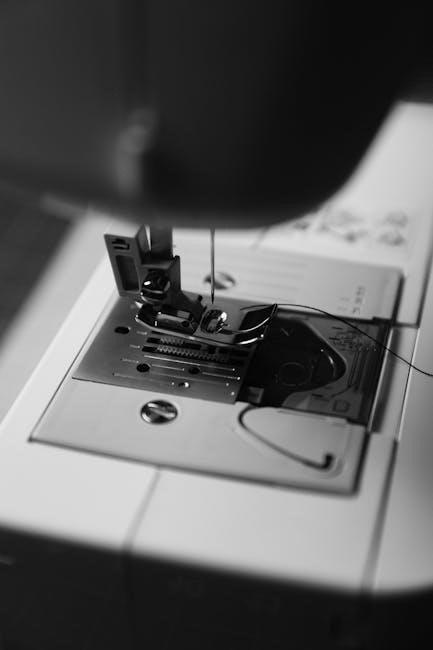
Correct threading‚ as detailed in the Singer Stylist 7258 manual updated April 28‚ 2026‚ is vital for proper stitch formation. Begin by raising the presser foot; this disengages the tension discs. Guide the thread from the spool‚ through the upper threading guides‚ and down to the take-up lever.
Ensure the thread is securely seated in the take-up lever’s slot. Continue threading through the tension discs and finally‚ thread the needle from front to back. Proper threading prevents skipped stitches and ensures smooth operation. Refer to the diagrams for clarity.
Upper Threading Guide
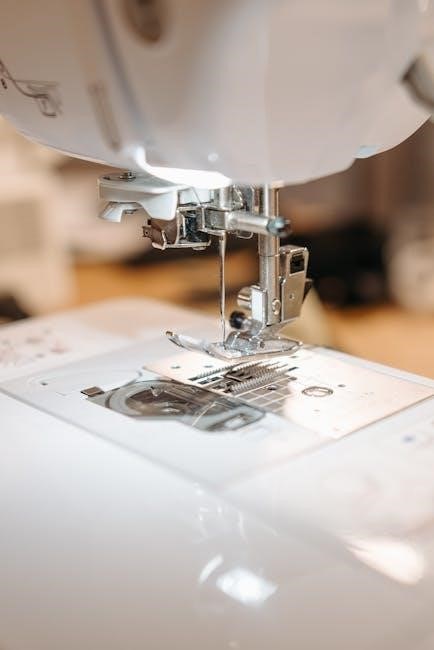
The Singer Stylist 7258’s upper threading path‚ as outlined in the manual dated April 28‚ 2026‚ begins with the spool pin. Thread moves from the spool‚ through the first thread guide – a small metal loop. Next‚ it passes through the thread tension dial‚ ensuring consistent pressure.
Following tension‚ the thread is directed upwards to the take-up lever. Correct seating within the lever is crucial. Finally‚ thread through the last thread guide before needle insertion. Accurate following of this path‚ illustrated in the manual‚ guarantees optimal stitching performance and prevents issues.
Lower Threading (Bobbin) Guide
According to the Singer Stylist 7258 instruction manual‚ dated April 28‚ 2026‚ proper bobbin threading is vital. First‚ ensure the bobbin is wound correctly and inserted into the bobbin case‚ following the directional arrow.
Next‚ draw the thread through the tension spring of the bobbin case – a slight click confirms engagement. Guide the thread through the slot‚ then up into the hook area. A gentle tug verifies correct threading. Incorrect bobbin threading leads to inconsistent stitches or machine malfunction‚ so careful attention to the manual’s diagrams is essential.
Stitch Selection and Adjustment
The Singer Stylist 7258 instruction manual‚ current as of April 28‚ 2026‚ details comprehensive stitch controls. A dial allows easy selection from various stitch patterns‚ including straight‚ zigzag‚ and decorative options. Understanding these patterns is key to project success.
Adjust stitch length and width using dedicated sliders‚ tailoring stitches to fabric type and desired effect. Tension adjustment‚ crucial for balanced stitches‚ is controlled via a numbered dial; experimentation is often needed. Refer to the manual’s stitch guide for recommended settings based on fabric and thread combinations.
Understanding Stitch Patterns
The Singer Stylist 7258 instruction manual‚ updated April 28‚ 2026‚ explains diverse stitch patterns. Straight stitches are ideal for seams and topstitching‚ while zigzag stitches offer stretch and decorative potential. Buttonhole stitches create professional-looking buttonholes‚ and stretch stitches suit knit fabrics.
Decorative stitches add flair to projects‚ ranging from simple patterns to intricate designs. The manual provides visual guides and suggested applications for each stitch. Experimenting with different patterns enhances creativity. Understanding stitch density—controlled by length settings—impacts fabric strength and appearance. Proper pattern selection ensures project durability.
Stitch Length and Width Control
According to the Singer Stylist 7258 instruction manual (dated April 28‚ 2026)‚ stitch length adjusts the distance between stitches‚ impacting fabric strength. Shorter lengths reinforce seams‚ while longer lengths are suitable for basting. Stitch width controls the zigzag stitch’s breadth‚ influencing fabric coverage and decorative effects.
The manual details how to use the corresponding dials to fine-tune these settings. Proper adjustment prevents puckering or loose stitches. Experimentation is encouraged to achieve desired results on various fabrics. Incorrect settings can compromise project integrity‚ so referencing the manual’s guidelines is crucial for optimal performance.
Tension Adjustment
The Singer Stylist 7258 instruction manual‚ as of April 28‚ 2026‚ emphasizes tension as critical for balanced stitches. Incorrect tension causes looping or puckering. Upper tension controls thread tightness from the spool‚ while lower tension manages the bobbin thread.
The manual instructs users to adjust the upper tension dial incrementally‚ testing on scrap fabric after each change. A balanced stitch shows equal thread interlock on both sides. Troubleshooting guides address common issues like loose or tight stitches. Proper tension ensures seam durability and a professional finish‚ vital for all sewing projects.
Performing Basic Stitches
The Singer Stylist 7258 instruction manual‚ current as of April 28‚ 2026‚ details performing fundamental stitches. Mastering these is key to successful sewing. Begin with the straight stitch‚ ideal for seams and topstitching; the manual suggests practicing consistent speed and guiding the fabric gently;
Next‚ explore the zigzag stitch‚ useful for finishing raw edges and creating decorative elements. The manual highlights adjusting stitch width for varied effects. Consistent practice‚ using scrap fabric‚ builds confidence. These basic stitches form the foundation for more complex projects‚ as outlined in the comprehensive guide.
Straight Stitch – Applications and Techniques
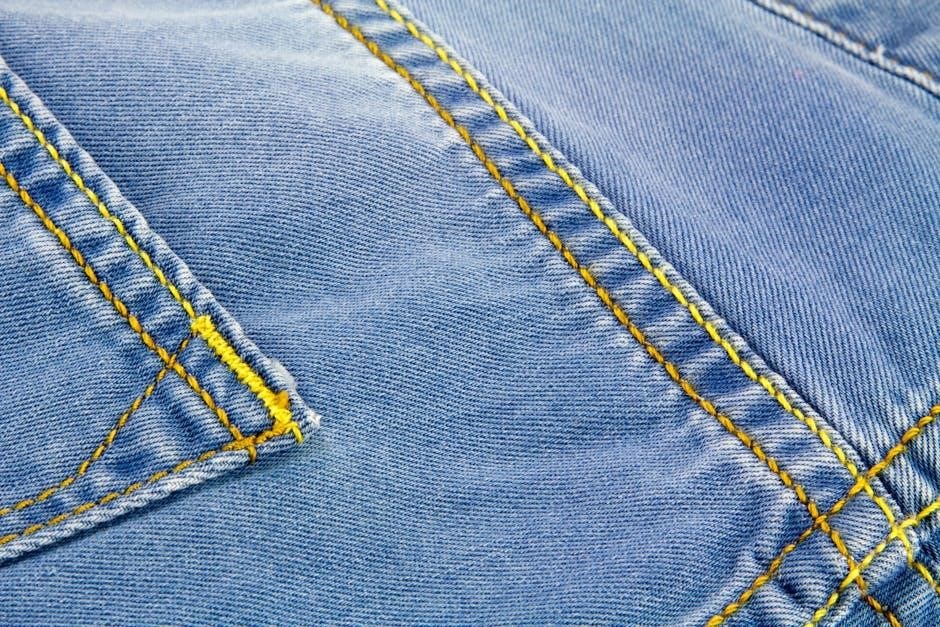
According to the Singer Stylist 7258 instruction manual (updated April 28‚ 2026)‚ the straight stitch is incredibly versatile. It’s fundamental for constructing garment seams‚ quilting layers‚ and creating precise topstitching details. The manual emphasizes maintaining a consistent seam allowance using the guide markings on the needle plate.
Techniques include practicing smooth fabric feeding and adjusting stitch length for different fabric weights. Shorter stitches are recommended for delicate fabrics‚ while longer stitches suit heavier materials. The guide stresses the importance of a properly threaded machine and appropriate needle selection for optimal straight stitch quality.
Zigzag Stitch – Applications and Techniques
The Singer Stylist 7258 instruction manual‚ current as of April 28‚ 2026‚ details the zigzag stitch’s diverse applications. Beyond finishing raw edges to prevent fraying‚ it’s ideal for stretch fabrics‚ decorative embellishments‚ and creating buttonholes (though a dedicated buttonhole foot is recommended). The manual highlights adjusting stitch width and length for varied effects.

Techniques involve practicing consistent zigzag formation and utilizing the stitch width control for different edge finishing needs. Narrower zigzags are suitable for lightweight fabrics‚ while wider zigzags offer more substantial coverage. Proper tension adjustment is crucial for a balanced‚ non-puckered zigzag stitch‚ as detailed in the guide.
Advanced Stitching Techniques
The Singer Stylist 7258 instruction manual‚ updated April 28‚ 2026‚ unlocks advanced capabilities. Mastering these techniques expands creative potential. The manual dedicates sections to buttonhole creation‚ guiding users through stabilizer selection and precise stitch settings for professional results. It also explores overlock stitching‚ if the machine supports it‚ detailing foot options and tension adjustments.
Beyond basics‚ the guide suggests experimenting with decorative stitches and combining stitch types for unique designs. It emphasizes practice and understanding how stitch parameters impact fabric behavior. Successful advanced techniques rely on consistent threading and proper needle selection‚ as outlined within the manual.

Buttonhole Stitch – Step-by-Step Guide
The Singer Stylist 7258 instruction manual (dated April 28‚ 2026) provides a detailed buttonhole guide. First‚ attach the buttonhole foot. Select the appropriate buttonhole stitch setting based on button size‚ referencing the chart within the manual. Stabilize the fabric; a tear-away stabilizer is recommended. Carefully position the fabric and lower the presser foot.
Begin stitching‚ allowing the machine to automatically create the buttonhole outline. The manual stresses not to pull or guide the fabric. Once complete‚ carefully remove the fabric and cut open the buttonhole‚ avoiding stitch damage. Practice on scrap fabric is crucial for achieving consistent‚ professional-looking buttonholes.
Overlock Stitch (if applicable) – Usage and Settings
The Singer Stylist 7258 instruction manual‚ current as of April 28‚ 2026‚ details the overlock stitch functionality‚ if equipped. This stitch prevents fabric fraying‚ ideal for knit fabrics and garment edges. Select the overlock stitch setting – the manual illustrates various options for different fabric weights. Utilize the overlock foot for optimal results.
Ensure proper threading‚ following the diagram precisely. Adjust stitch width for desired coverage. Test on scrap fabric to confirm settings before applying to your project. The manual cautions against stretching the fabric during overlocking‚ maintaining consistent speed for a neat finish.
Troubleshooting Common Issues
The Singer Stylist 7258 instruction manual‚ updated April 28‚ 2026‚ addresses frequent user concerns. Thread breakage often stems from incorrect threading or a dull needle; re-thread carefully and replace the needle. Skipped stitches indicate improper needle insertion‚ incorrect thread tension‚ or a bent needle – verify these elements.
Needle breakage usually results from forcing the fabric or using the wrong needle type for the material. Always use appropriate needles. Consult the manual’s diagrams for correct threading paths and tension settings. Regular cleaning‚ as detailed within‚ prevents many issues.
Thread Breakage – Causes and Solutions
According to the Singer Stylist 7258 instruction manual (updated April 28‚ 2026)‚ thread breakage is a common issue. Primary causes include incorrect threading of the upper or lower thread‚ a dull or damaged needle‚ and improper thread tension. Ensure the thread path follows the manual’s diagrams precisely.
Solutions involve re-threading both threads‚ replacing the needle with a new one of the correct size and type‚ and adjusting the tension dial. Using low-quality thread can also contribute; opt for reputable brands. Regularly cleaning the machine‚ as outlined in the manual‚ prevents lint buildup that can cause friction.
Skipped Stitches – Diagnosis and Repair
The Singer Stylist 7258 instruction manual (dated April 28‚ 2026) identifies skipped stitches as often stemming from incorrect needle insertion‚ a bent or dull needle‚ or improper threading. Verify the needle is fully inserted and correctly oriented. A damaged needle must be replaced immediately with the appropriate type for your fabric.
Also‚ confirm the bobbin is correctly inserted and the thread is wound evenly. Adjusting the presser foot pressure can sometimes resolve the issue. If problems persist‚ check the timing of the machine‚ a more complex repair best left to a qualified technician‚ as detailed in the manual’s advanced section.
Needle Breakage – Prevention and Replacement
According to the Singer Stylist 7258 instruction manual (dated April 28‚ 2026)‚ needle breakage frequently occurs due to forcing fabric‚ using the wrong needle type for the material‚ or a bent needle. Always use a new needle for each project‚ or when changing fabric types. Never pull or push the fabric while sewing; let the machine feed it.
To replace a broken needle‚ ensure the machine is off. Loosen the needle clamp screw and carefully remove the broken piece. Insert a new needle‚ flat side facing the back‚ and tighten the screw securely. Refer to the manual’s parts diagram for correct needle installation.
Maintenance and Cleaning
The Singer Stylist 7258 instruction manual‚ current as of April 28‚ 2026‚ emphasizes regular maintenance for optimal performance. Power off and unplug the machine before any cleaning. Remove the needle‚ presser foot‚ and bobbin case. Use a brush to remove lint from the bobbin area and feed dogs.
Wipe the exterior with a soft‚ dry cloth. For stubborn lint‚ a cotton swab dipped in machine oil can be helpful. Avoid using liquid cleaners directly on the machine. Lubricate key points as detailed in the manual – typically‚ oiling the bobbin race and motor shaft is recommended.
Regular Cleaning Procedures
According to the Singer Stylist 7258 instruction manual (updated April 28‚ 2026)‚ frequent cleaning prevents issues. After each use‚ brush away lint from the bobbin area‚ feed dogs‚ and around the needle plate. A small brush‚ often included with the machine‚ is ideal.
Periodically‚ remove the needle plate and thoroughly clean underneath. Check the bobbin case for lint buildup. Wipe down the exterior surfaces with a soft‚ dry cloth. Avoid harsh chemicals or abrasive cleaners. Consistent cleaning extends the machine’s lifespan and ensures smooth operation‚ as detailed within the manual’s guidelines.
Lubrication – When and How
The Singer Stylist 7258 instruction manual (dated April 28‚ 2026) specifies lubrication is crucial‚ but infrequent. Over-oiling can attract lint and cause problems. Generally‚ lubrication is recommended every six months with regular use‚ or after 40 hours of operation.
Use only sewing machine oil‚ applying a small drop to the designated oiling points – typically the bobbin race and the motor shaft. Consult the manual’s diagrams for precise locations. Avoid oiling the feed dogs or tension discs. Wipe away any excess oil to prevent staining fabric. Proper lubrication ensures quiet‚ efficient operation.
Accessories and Optional Presser Feet
The Singer Stylist 7258‚ as detailed in the instruction manual (dated April 28‚ 2026)‚ includes several standard accessories. These encompass a variety of presser feet for general sewing‚ a seam ripper‚ needles‚ bobbins‚ and a screwdriver. Expanding your capabilities requires optional presser feet.

Available feet include a zipper foot‚ buttonhole foot‚ blind hem foot‚ and a gathering foot. These specialized feet enhance precision and efficiency for specific projects. The manual provides compatibility information and usage guidelines for each optional accessory‚ maximizing the machine’s versatility.
Standard Presser Feet Included
According to the Singer Stylist 7258 instruction manual (dated April 28‚ 2026)‚ several presser feet are included with the machine for immediate use. A general-purpose or zigzag foot is standard‚ suitable for most everyday sewing applications. Additionally‚ a buttonhole foot facilitates creating consistent buttonholes‚ streamlining garment construction.
The package also contains a foot designed for zippers‚ enabling precise and professional zipper insertions. These standard feet provide a solid foundation for various sewing tasks. The manual details proper attachment and optimal usage for each included foot‚ ensuring successful project outcomes.
Available Optional Presser Feet and Their Uses
The Singer Stylist 7258 instruction manual (dated April 28‚ 2026) highlights numerous optional presser feet to expand sewing capabilities. An overcasting foot creates a professional edge finish‚ preventing fabric fraying. A gathering foot simplifies fabric gathering for ruffles and decorative effects. A blind hem foot allows for nearly invisible hems on skirts and trousers.
Furthermore‚ a quilting foot aids in even stitch distribution for quilting projects‚ and a darning foot is useful for repairing holes and worn areas. These optional feet‚ sold separately‚ unlock advanced techniques and specialized applications‚ enhancing the machine’s versatility.
Safety Precautions
The Singer Stylist 7258 instruction manual‚ current as of April 28‚ 2026‚ emphasizes several crucial safety measures. Always disconnect the power cord before changing the needle‚ threading‚ or performing any maintenance. Keep fingers away from the needle area while the machine is operating. Never sew over pins or thick fabric layers‚ as this can damage the needle.
Ensure the machine is placed on a stable‚ level surface during use. Supervise children closely when near the sewing machine. Avoid using damaged power cords or plugs. Regular inspection and adherence to these precautions will ensure safe and enjoyable sewing.
Resources and Further Support
For additional assistance with your Singer Stylist 7258‚ referencing the instruction manual dated April 28‚ 2026‚ is a great starting point. Singer’s official website provides a wealth of resources‚ including frequently asked questions‚ downloadable manuals‚ and troubleshooting guides. You can also find helpful video tutorials demonstrating various techniques.
Furthermore‚ numerous online sewing communities and forums offer peer-to-peer support and advice. Contacting Singer’s customer support directly via phone or email is another option for personalized assistance. Explore these avenues to maximize your sewing experience and resolve any challenges.