
Hampton Bay Ceiling Fan Instruction Manual: A Comprehensive Guide
Navigating the world of Hampton Bay ceiling fans requires understanding their manuals. This guide offers detailed assistance, from locating model numbers to troubleshooting common operational issues.
Understanding Your Hampton Bay Ceiling Fan
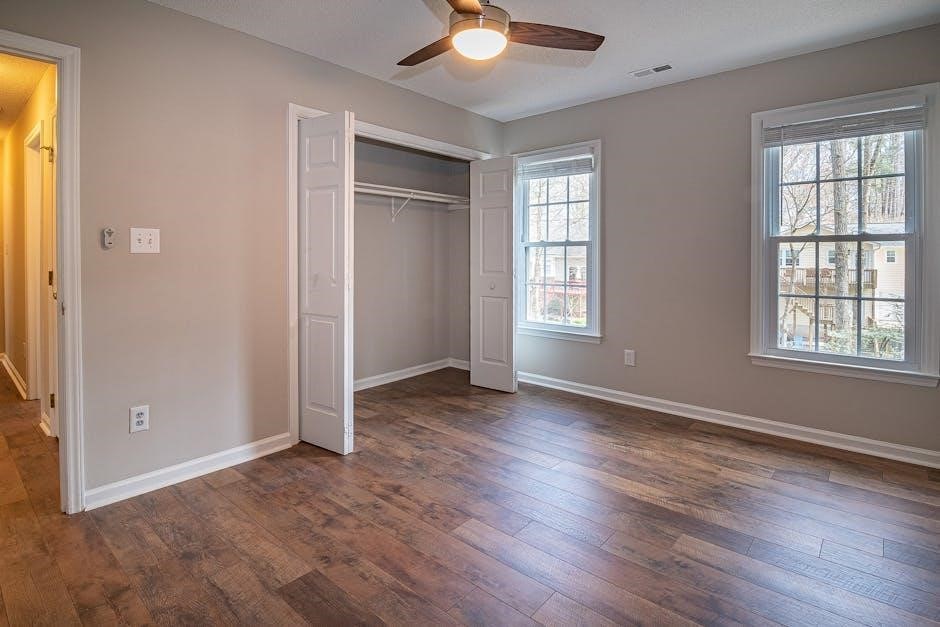
Hampton Bay ceiling fans are popular choices for home comfort, but maximizing their performance and longevity relies on understanding their features and operation. These fans come in diverse models – like the Callaway II (46055) and North Pond – each with specific characteristics.
Proper installation, as detailed in the instruction manual, is crucial for safety and optimal airflow. Familiarize yourself with the fan’s components, including blades, motor housing, and remote control (if applicable). Knowing your fan’s model number is paramount, as it unlocks access to the correct manual and support resources. Regular maintenance, like cleaning blades, ensures continued efficient operation.
Locating the Model Number
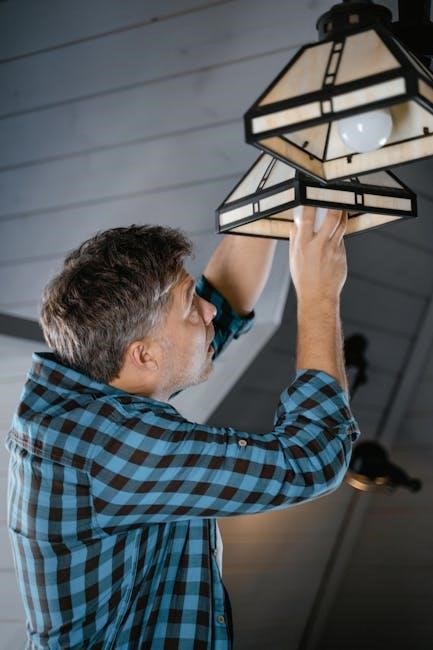
Finding your Hampton Bay ceiling fan’s model number is the first step towards accessing specific instructions and support. Typically, this crucial identifier is located on the fan itself. Check the motor housing, often a black box situated above the blades, for a label containing the model number.
Alternatively, inspect the canopy cover, the part that mounts to the ceiling bracket. The owner’s manual, if available, will also clearly display the model number. If you’re unable to locate it physically, contacting Hampton Bay directly via their helpline (1-855-HD-Hampton) or messaging them with a picture can assist in identification.

Where to Find the Model Number on the Fan
Pinpointing the model number directly on the fan is often straightforward. Begin by carefully examining the motor housing – this is usually a black enclosure positioned above the fan blades. Look for a sticker or printed label affixed to this housing; the model number will be prominently displayed there.
If the motor housing doesn’t yield results, check the canopy, which is the cover that secures the fan to the ceiling mounting bracket. A label with the model number may be located on the inside or outside of the canopy. Remember to safely turn off the power before attempting any inspection near the electrical components.
Why the Model Number is Important

The Hampton Bay ceiling fan model number is absolutely crucial for several reasons. Firstly, it’s essential when accessing the correct instruction manual – each model has specific installation and operation guidelines. Without the correct manual, you risk improper assembly or operation.
Secondly, the model number is vital when contacting Hampton Bay customer support or Home Depot for assistance with troubleshooting or replacement parts. Providing this number ensures they can accurately identify your fan and offer tailored solutions. Finally, it’s needed when ordering replacement components like blades, remote controls, or pull chains, guaranteeing compatibility.

Decoding Hampton Bay Serial Numbers
Hampton Bay serial numbers are key to determining the manufacturing date of your ceiling fan. These numbers are typically either nine or ten digits long, and the date code is located differently depending on the length. For nine-digit serial numbers, the second character indicates the manufacturing date.
With ten-digit numbers, the third character reveals the date code. Understanding this code allows you to estimate the fan’s age, which can be helpful for warranty claims or identifying potential compatibility issues with replacement parts. While the exact decoding chart isn’t publicly available, knowing the location of the date code is a significant first step.
9-Digit Serial Numbers: Date Code Explanation
When dealing with a nine-digit Hampton Bay ceiling fan serial number, the second digit holds the crucial date code information. Unfortunately, a publicly accessible, comprehensive decoding chart for these date codes is not readily available. However, it’s understood that this digit represents the year the fan was manufactured.
Determining the exact month requires further investigation, potentially through contacting Hampton Bay customer support directly. While pinpointing the precise manufacturing date can be challenging without proprietary information, knowing the year provides valuable insight into the fan’s age and potential lifespan. This information aids in troubleshooting and parts compatibility.
10-Digit Serial Numbers: Date Code Location
For Hampton Bay ceiling fans featuring a ten-digit serial number, locating the date code is straightforward. Unlike the nine-digit system, the date code is conveniently positioned as the third character within the serial number sequence. This digit directly corresponds to the year the fan was manufactured, offering immediate insight into its age.
While the year is easily determined, deciphering the specific month of production isn’t directly encoded within the serial number itself. However, having the manufacturing year is incredibly useful for identifying compatible replacement parts and understanding potential warranty coverage. This simplified system streamlines the process of gathering essential fan information.
Common Hampton Bay Ceiling Fan Models
Hampton Bay offers a diverse range of ceiling fans, catering to various styles and budgets. The Callaway II (Model 46055) is a popular choice, known for its efficiency with a CFM of 177 and an energy efficiency rating of 14.33. It boasts a lifetime motor warranty and a 2-year warranty on other components, demonstrating Hampton Bay’s confidence in its build quality.
Another frequently encountered model is the North Pond. This fan is available in matte black and is suitable for both indoor and outdoor use; Its UPC is 082392517182. Identifying these common models simplifies the search for specific instruction manuals and replacement parts, ensuring a smoother ownership experience.
Callaway II (Model 46055) Specifications

The Hampton Bay Callaway II (Model 46055) is a widely recognized ceiling fan, celebrated for its performance and reliability. It delivers an airflow of 177 CFM (Cubic Feet per Minute) while maintaining an efficiency of 14.33, indicating a good balance between power and energy consumption. This model features a lifetime warranty on the motor, providing long-term peace of mind.
Beyond the motor, the Callaway II is backed by a 2-year warranty covering other components. Its retailer/SKU number is 177/144/113/14.33. Understanding these specifications is crucial for ensuring proper installation, operation, and maintenance, ultimately maximizing the fan’s lifespan and efficiency.
North Pond Model Details
The Hampton Bay North Pond ceiling fan is a versatile option suitable for both indoor and outdoor applications, boasting a matte black finish for a contemporary aesthetic. Its UPC code is 082392517182, aiding in identification and parts ordering. This 52-inch fan is designed to enhance airflow in various spaces, offering a blend of style and functionality.
The North Pond model is recognized for its durability and ease of installation. It’s a popular choice for homeowners seeking a reliable cooling solution. Detailed specifications and installation instructions are typically found within the accompanying owner’s manual, ensuring a smooth setup process and optimal performance.
Accessing Hampton Bay Instruction Manuals
Finding the correct instruction manual for your Hampton Bay ceiling fan is crucial for safe installation and maintenance. Fortunately, several resources are available. A primary method is searching online; numerous websites archive manuals based on model numbers.
If online searches prove unsuccessful, directly contacting Hampton Bay is recommended. You can reach them at 1-855-HD-Hampton for assistance. Alternatively, sending them a message with a picture of your fan can help them identify the correct manual. Home Depot, as the retailer, may also offer access to manuals or direct you to the appropriate resources.
Online Manual Resources

Numerous online platforms serve as repositories for Hampton Bay ceiling fan instruction manuals. While an official centralized database isn’t readily available, various websites compile manuals based on user submissions and web scraping. Searching using your specific model number – crucial for accuracy – is the most effective approach.
Many home improvement forums and communities also host shared manuals. Retailer websites, like Home Depot, sometimes provide downloadable PDFs for older models. Be cautious when downloading from unofficial sources; ensure the file is safe and corresponds to your exact fan model to avoid incorrect installation or maintenance procedures.
Contacting Hampton Bay for Manuals
If online searches prove unsuccessful, directly contacting Hampton Bay customer support is a reliable option. You can reach them via phone at 1-855-HD-Hampton, providing your model number for efficient assistance. Alternatively, submitting a message through their online contact form, often accessible via the Home Depot website, is another avenue.
When contacting support, having a clear photograph of the fan’s motor housing or any identifying labels can expedite the process. Be prepared to describe your fan in detail if the model number is unavailable. They may be able to identify it based on features and specifications, ultimately providing the correct manual.
Troubleshooting Common Issues
Encountering problems with your Hampton Bay ceiling fan is common, but often easily resolved. A fan that fails to turn on should first be checked for power supply issues – verify the circuit breaker and wall switch. If power is confirmed, inspect the pull chain or remote control functionality.
Wobbly fan blades are another frequent concern. Ensure all blade screws are tightened securely, and consider using a balancing kit (sold separately) to distribute weight evenly. Carefully follow the kit’s instructions for optimal results. Persistent issues may indicate a motor problem, requiring professional attention.
Fan Not Turning On
If your Hampton Bay ceiling fan isn’t responding, begin with the simplest checks. First, confirm the wall switch is in the “on” position and the circuit breaker hasn’t tripped. If using a remote, ensure fresh batteries are installed and it’s properly paired with the fan – refer to the remote pairing instructions.
Inspect the pull chain, if equipped, for proper operation. A faulty pull chain switch might require replacement. If these steps don’t resolve the issue, carefully examine the motor housing for any visible damage. Contact Hampton Bay customer support at 1-855-HD-Hampton for further assistance if needed.
Wobbly Fan Blades
A wobbling Hampton Bay ceiling fan can be unsettling and potentially damaging. Begin by ensuring all blade screws are securely tightened – this is the most common cause. Use a screwdriver to firmly tighten each screw, checking for any loose connections. If wobbling persists, utilize a balancing kit, often included with the fan.
These kits contain weights that are strategically attached to the blades to counteract imbalance. Follow the kit’s instructions carefully for optimal results. Inspect the blade holders and mounting bracket for any signs of bending or damage. If issues continue, contact Hampton Bay support for guidance.
Remote Control Operation
Your Hampton Bay ceiling fan’s remote offers convenient control of speed, light, and other functions. Initial setup often requires pairing the remote to the receiver unit within the fan’s canopy. Consult your specific model’s manual for detailed pairing instructions, as procedures vary. Typically, this involves turning the fan’s power off and on while pressing a specific button on the remote.
Ensure the remote has fresh batteries for optimal performance. If the remote isn’t responding, try replacing the batteries with new ones. Keep the remote directed towards the fan during operation, avoiding obstructions. For unresponsive remotes, re-pairing may be necessary.

Remote Pairing Instructions
Pairing your Hampton Bay ceiling fan remote ensures seamless control. Begin by ensuring the fan’s power is switched off at the breaker. Next, restore power to the fan. Within three minutes of power restoration, press and hold the ‘Stop’ or ‘Off’ button on the remote for several seconds – typically 5-10 seconds – until the fan blades attempt to rotate or the light flashes.
This indicates pairing mode. If successful, the fan will respond to the remote’s commands. If pairing fails, repeat the process. Some models require a specific sequence of button presses; always refer to your fan’s unique instruction manual for precise steps. A successful pairing is crucial for full functionality.
Replacing Remote Batteries
Maintaining your Hampton Bay ceiling fan remote involves periodic battery replacement. Typically, these remotes utilize AAA or AA batteries, though always confirm the correct type in your manual. To access the battery compartment, locate the sliding cover on the back of the remote and gently slide it open. Remove the old batteries, noting the correct polarity (+ and -) indicated inside the compartment.
Insert the new batteries, ensuring proper alignment. Replace the battery cover securely. After replacement, test the remote’s functionality by attempting to control the fan’s speed or light. If the remote still doesn’t work, double-check the battery polarity and ensure a fresh set of batteries are used.
Maintenance and Cleaning
Regular maintenance ensures your Hampton Bay ceiling fan operates efficiently and safely. Dust accumulation can reduce performance, so periodic cleaning is crucial. Before cleaning, always turn off the fan at the circuit breaker. Use a soft brush or microfiber cloth to gently wipe down the fan blades, avoiding abrasive cleaners that could damage the finish.

For the motor housing, a damp cloth is usually sufficient. Avoid getting moisture into the motor. Inspect the blades periodically for any signs of loosening and tighten screws as needed. Annual motor maintenance isn’t typically required, but listening for unusual noises can indicate a potential issue needing professional attention.
Cleaning Fan Blades
Maintaining clean fan blades is vital for optimal airflow and performance. Begin by powering off the fan at the breaker box for safety. Use a soft brush, microfiber cloth, or a pillowcase to gently wipe each blade, preventing dust from scattering. Avoid using liquid cleaners directly on the wood or finish, as this can cause damage.
A slightly damp cloth can be used, but ensure it’s wrung out thoroughly. For stubborn grime, a mild soap solution may be applied sparingly, followed by a clean, damp wipe. Regular dusting – ideally monthly – prevents significant buildup. Inspect blades for damage during cleaning and address any issues promptly.
Motor Maintenance
Hampton Bay ceiling fan motors are generally sealed and require minimal maintenance. However, periodic checks can ensure longevity. Listen for unusual noises – humming, clicking, or grinding – which may indicate a problem. Avoid operating the fan in excessively damp environments, as this can lead to corrosion.
If the fan slows or stops, check the capacitor, a common failure point. (Note: Capacitor replacement should be performed by a qualified electrician.) Do not attempt to lubricate the motor yourself, as this can void the warranty and potentially damage the unit. Regularly inspect wiring connections within the canopy for tightness and damage.